
Pre-release information; the final game may differ. Based on the September 2026 demo and cited public material. We have not played this build; its exact build number is unconfirmed.
Pick a route your party can sustain
In the original demo discussion, uoYredruM reports finding Minituar near the palm tree in the desert. Other players describe the same area’s Chimera encounters as dangerous. The route comparison below uses those reports, not measured encounters from this site.[1]
| Route | Why consider it? | Main cost or risk | Choose it when… |
|---|---|---|---|
| Desert near the palm tree / oasis | Players report rewarding rare Minituar encounters. | Chimera can overwhelm weaker parties; rare-enemy frequency varies. | You can survive normal encounters or leave them reliably. |
| Upper floors of Siren’s Tower | Zafervaim reports a slower loop with Ether drops alongside training. | You trade possible rare-enemy bursts for repeated ordinary fights. | Your priority is a repeatable route and useful supplies. |
| Undead in the ruins | ShadeofIcarus reports comfortable fights using Light coverage. | The report is conditional on that player’s setup. | Your party can answer those enemies without costly recoveries. |
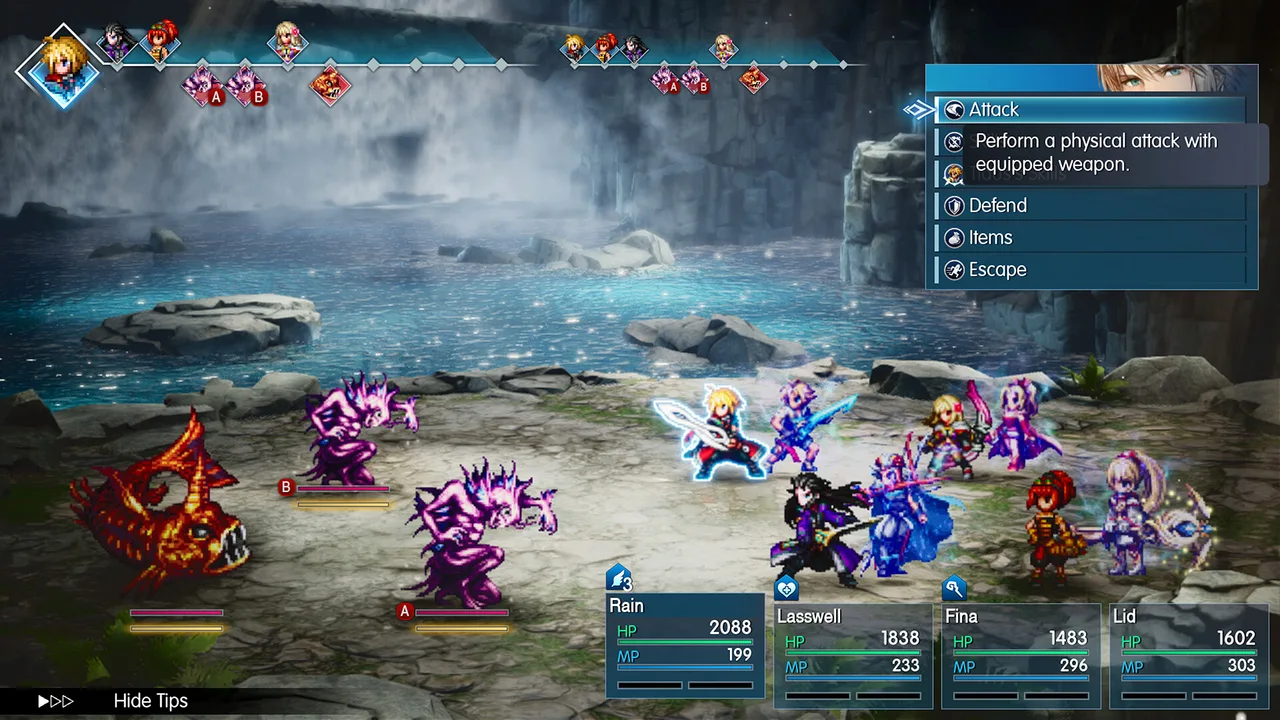
Why players report 52 and 78
The original poster reports 52 MRP for a stagger finish, while ColemyGOAT reports 78. Replies suggest difficulty and finishing bonuses as explanations. Those comments do not establish a guaranteed payout, a reliable spawn percentage or an hourly rate.[1]
Fuzzfinger independently describes the oasis-area method and an Expert-difficulty approach, with recovery preparation and a warning about Chimera.[2] Treat the setup and risk as part of the route, rather than copying only its largest reward number.
Do not raise difficulty just to chase the larger number. A route that adds deaths, reloads or long recoveries may be worse for your session even if a successful battle pays more.
A practical stop-or-switch check
- Set a target. Pick a specific useful mastery reward you can inspect in the menu. Avoid grinding without knowing what unlock you want.
- Equip the Vision you intend to train. Check the character and current progression before starting.
- Save and restore supplies. Keep your previous story-progress save distinct from an experiment if you are unsure of the route.
- Try a short sample. Record battles completed, time lost to recovery, and whether the useful reward is getting closer. Include the fights you escape, not just the rare successful encounter.
- Switch if the ordinary enemy is the problem. Thegrumpymeeple reports being overwhelmed by Chimera around character level 11. Matsu-mae reports seeing very few Minituars despite many battles. Those are reasons to try a safer loop, not reasons to expect the next encounter to compensate.
What this route guide does not promise
We have not measured MRP per hour, encounter odds or the best route in the final release. The players used different setups, and the thread’s relative timestamps vary between retrieved versions; exact post timing is unconfirmed. You can still use the observed trade-off: choose a sustainable ordinary encounter before relying on a rare one.
Sources & verification
- Reddit player discussion (external site, opens a new tab)uoYredruM and named reply authors; September demo discussion, checked October 20. Displayed relative timestamps vary; these are player reports.
- Fuzzfinger Gaming (external site, opens a new tab)September 2026 demo guide with original screenshots; article displays September 13 and September 29 dates.